

Raspberry Pi 4 AI Server: Building a Local LLM Service with Ollama
The Raspberry Pi 4 AI Server project focuses on one goal:
running a reliable, private AI assistant on low-power hardware.
This tutorial walks through the complete setup—from a fresh Raspberry Pi install to a fully operational Ollama-powered AI server, running a custom LLaMA 3.1 model and accessible over the network.
No cloud dependencies. No data leakage. Just clean, local AI.
What You’ll Need
Hardware
-
Raspberry Pi 4 (8 GB RAM recommended)
-
Active cooling (fan + heatsink)
-
64 GB microSD or USB SSD
-
Ethernet connection (strongly recommended)
Software
-
Ubuntu Server 22.04 / 24.04 LTS or Raspberry Pi OS (64-bit)
-
SSH access
-
Ollama
Step 1: Base OS Installation (Headless)
Flash your OS using Raspberry Pi Imager:
-
Enable SSH
-
Set hostname (example:
pi-ai-server) -
Configure user + password
-
Enable Wi-Fi only if Ethernet is unavailable
Once booted, SSH into the Pi:
Step 2: System Preparation
Update and upgrade the system:
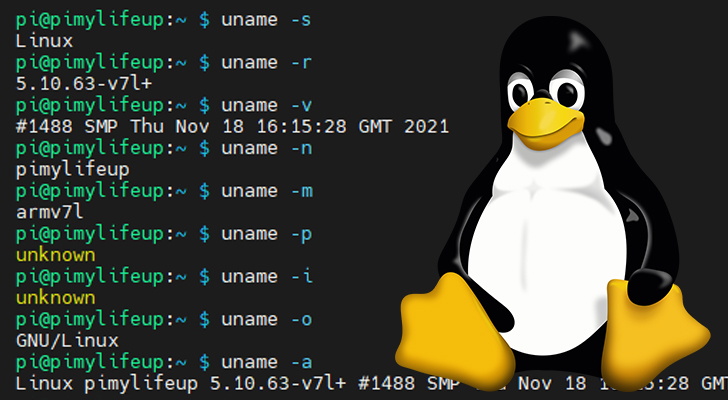
After reboot, confirm architecture:
You should see:
This confirms 64-bit mode—critical for LLM performance.
Step 3: Install Ollama
Install Ollama using the official script:
Verify installation:
At this point, your Raspberry Pi has officially crossed into AI server territory.

Step 4: Load Your Custom LLaMA 3.1 Model
Pull your custom model (example):
Run it interactively:
You’ll notice:
-
Initial load delay (expected)
-
CPU-bound inference
-
Stable responses once warmed up
This is normal behavior on ARM hardware.
Step 5: Enable Server Mode (API Access)
To expose Ollama as a local AI service:
Test locally:
From another machine on your network:
Your AI server is now network-accessible.

Step 6: Run Ollama as a System Service (Recommended)
Create a systemd override:
Add:
Enable and restart:
Your AI server now starts automatically on boot—because uptime matters.
Step 7: Performance & Stability Optimizations
For the Raspberry Pi 4 AI Server, these are non-negotiable:
✔ Quantized Models
Use Q4/Q5 builds only.
✔ ZRAM Swap
Compressed RAM swap prevents OOM crashes.
✔ Active Cooling
Thermal throttling = slow AI.
✔ Smaller Context Windows
Lower latency, better stability.
Step 8: Validation Checklist
Confirm everything is operational:
-
ollama listshows your model -
API reachable over LAN
-
Sustained uptime under load
-
CPU temps below throttling range
If all boxes are checked—you’ve built a functional edge AI server.
Use Cases for Raspberry Pi 4 AI Server
This setup excels at:
-
🔐 Local cybersecurity analysis
-
📚 Offline documentation Q&A
-
🧠 AI experimentation and learning
-
🏠 Homelab automation
-
🧪 Model testing before GPU deployment
It’s not about speed—it’s about control, privacy, and capability per watt.
Final Thoughts
The Raspberry Pi 4 AI Server proves that meaningful AI doesn’t require massive infrastructure.
With Ollama and a tuned LLaMA 3.1 model, even modest hardware can deliver real value.
Small server. Serious intent.
